
Docs / Getting started
Quick start
The whole path for a first saber, from plugging in to an installed board, in ten steps.
This page walks a first saber from start to finish. Each step links to the page that explains it in full. Hiltwright (a closed beta, Windows only) works with Proffieboard V2.2 and V3 boards running ProffieOS 8.x.
#What you need
- A Proffieboard V2.2 or V3 in your hilt, or on the bench.
- A USB data cable. Some cables only charge. If Hiltwright finds nothing, try another cable.
- The saber's SD card, or the saber itself. Fonts go on the card. You can use a card reader, or let the saber share its card over USB.
- Your installer's wiring notes. You will check every data pin and power pin against them. A wrong power pin can damage hardware.
- Hiltwright installed. If Windows blocks it, read the install guide first, especially the Smart App Control section.
Plan for about 2.5 GB of free disk space. The first build needs a one-time download of about 360 MB.
#Two ways to start
With the saber plugged in. Plug it in with the data cable. Hiltwright connects by itself, reads the saber and remembers it. The top bar shows "Connected" and the battery.
With a plan. If the saber has not arrived, press "New saber" in the Armory, name it and set it up ahead: wiring, presets and styles. When the real saber is plugged in later, Hiltwright asks whether it is the one you planned. You can do everything except the install without a saber.
#The ten steps
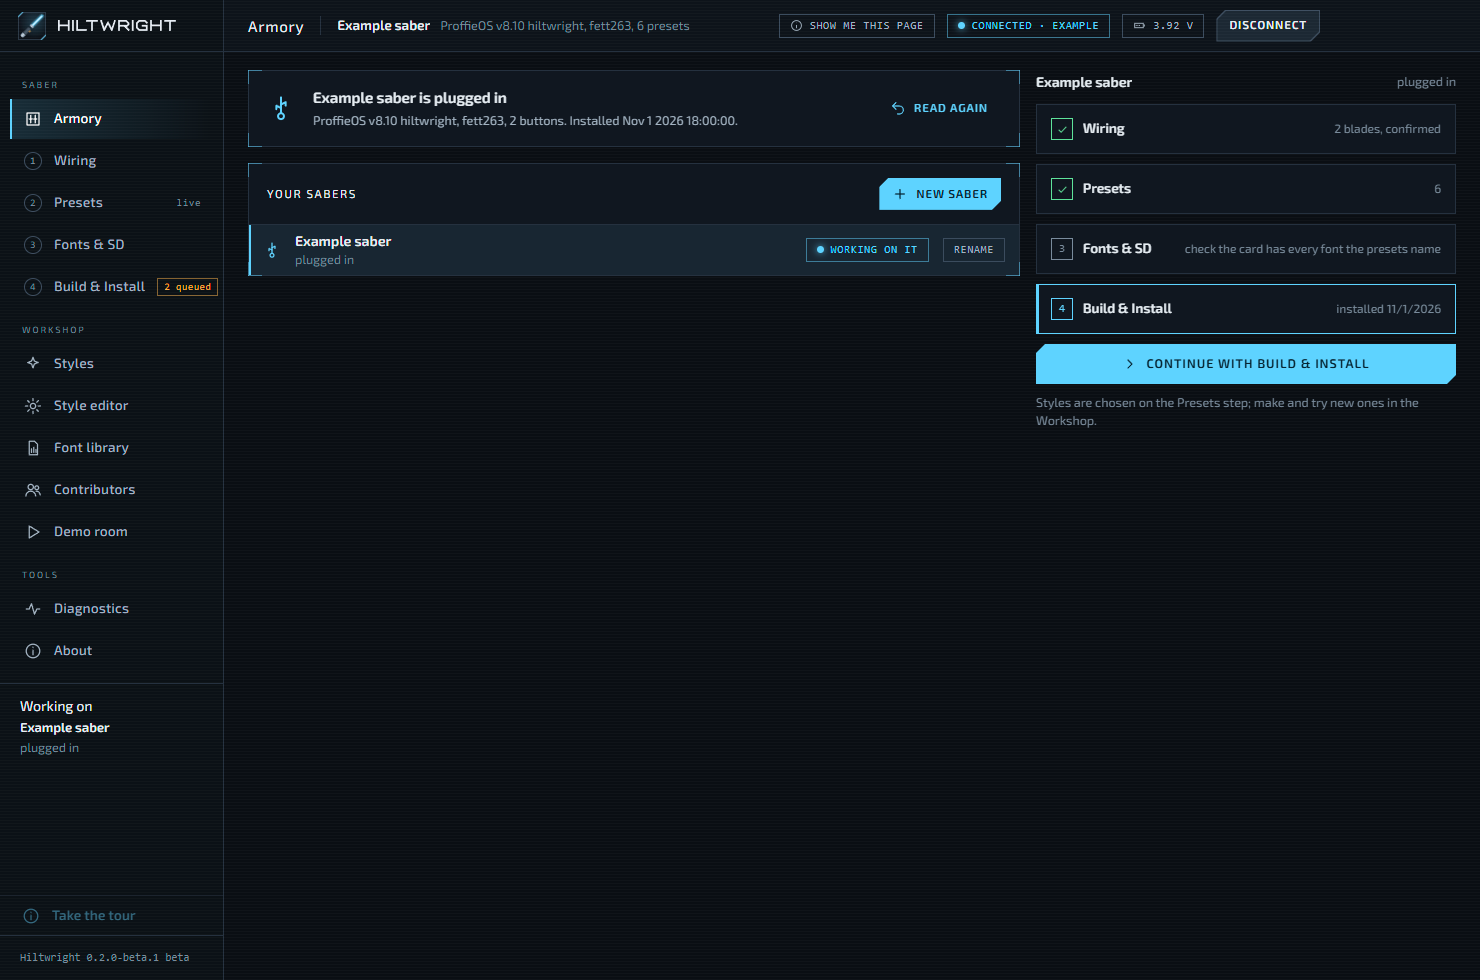
- Start in the Armory. Plug a saber in, or press "New saber". The saber marked "Working on it" is the one every step is about. See Armory.
- Choose the board. On Wiring, pick Proffieboard V2 or V3 (the label on the board says V2.2 or V3.x), the number of buttons, and the prop file. The prop file decides what each button press does. See Wiring.
- Describe the blades. Set how many blades there are, then open each one and say which pins it is wired to. A blade is anything the saber lights or runs: the main blade, a crystal chamber, an accent LED, a motor.
- Check the wiring against the installer's notes, then turn on "I checked the wiring". Nothing is installed until you do.
- Set up the presets. A preset is one setup you switch to with the buttons: a sound font, a music track and a style for each blade. See Presets and Styles.
- Get the fonts onto the card. On Fonts & SD, copy the fonts your presets use. Six free fonts come with Hiltwright. See Fonts & SD.
- Download the compiler. On Build & Install, press "Download and install" once. The compiler is the tool that turns your setup into firmware. After this download it is not needed again. See Build & Install.
- Build. Press "Build firmware". It takes about a minute.
- Install. Press "Install on" your saber's name, then "Yes, write the firmware". Hiltwright backs up the saber's firmware first. The first time, Windows asks for a driver.
- Wait for "Installed". Leave the saber plugged in until it says so. Hiltwright reconnects by itself and checks what the saber reports.
Tip The Armory shows how far each saber has got. A tick means a step is done, and "Continue" goes to the next one.
#After the first install
Changes you make to presets with the saber plugged in are written to it at once. You only build and install again when you change the wiring, or choose a style that is not in the saber's firmware yet. A style that is not yet in the firmware is marked "Queued". See Presets.
Every install keeps a backup, so you can put the old firmware back. See Build & Install.
#If something goes wrong
Press "Save diagnostics" on the Diagnostics page, or beside a failed build or install. It writes one file on your computer and sends nothing. Attach it when you report a problem. See Diagnostics and Troubleshooting.
#Take the in-app tour
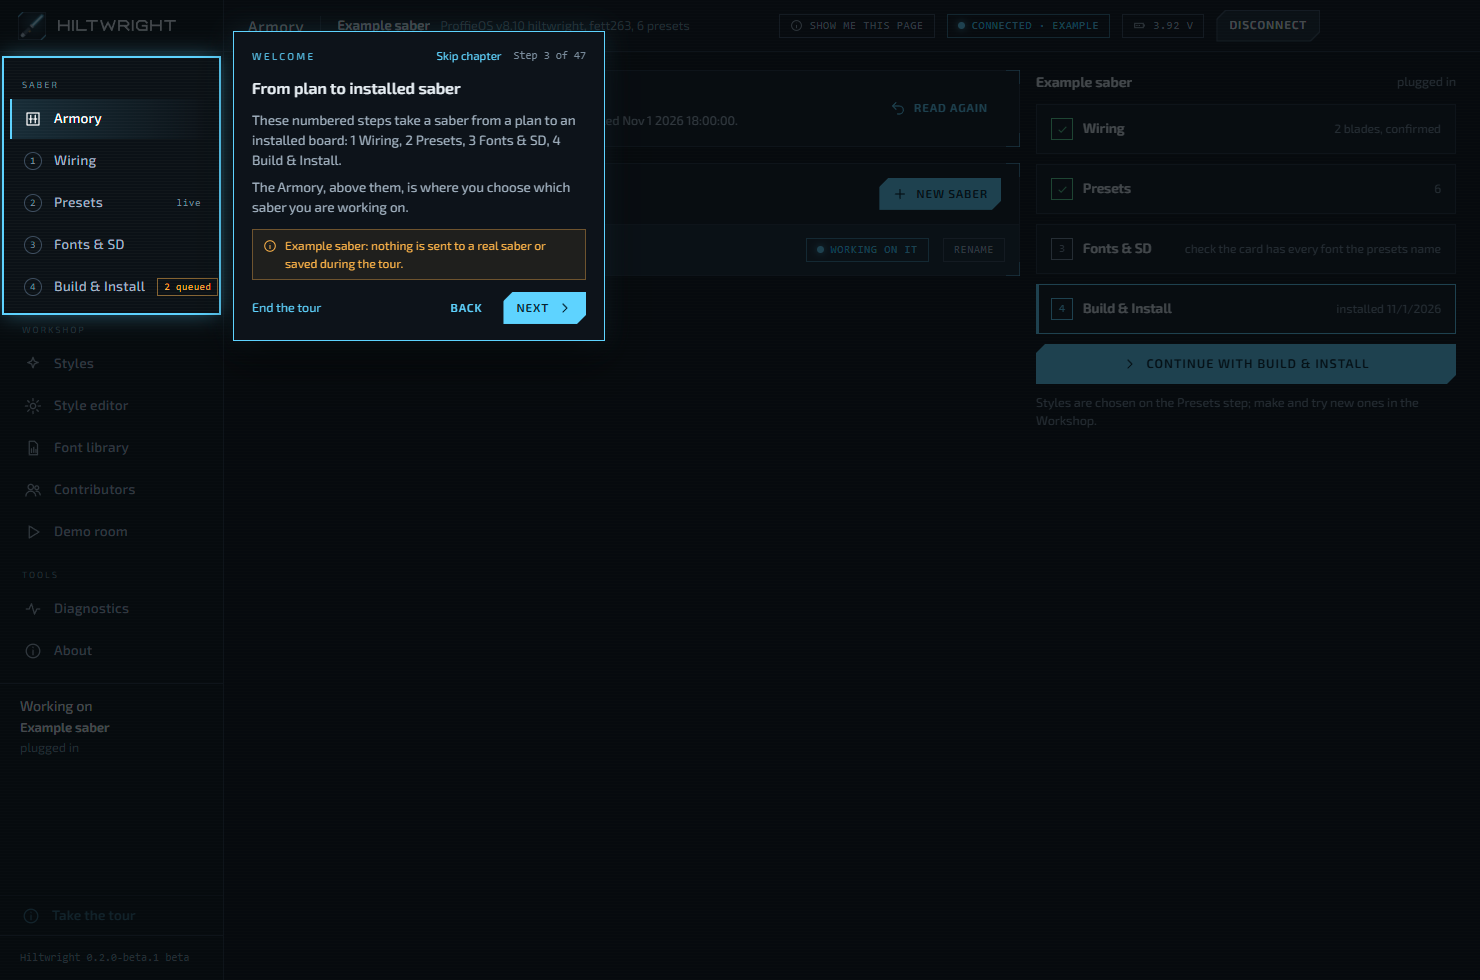
Hiltwright has a five-minute tour of every page, run on an example saber so nothing reaches a real one. Press "Take the tour" at the bottom of the sidebar, or "Show me this page" on any page.
Written for Hiltwright 0.2.0-beta.3. Something wrong or missing? Tell us.