

Docs / The saber path
Build & Install
Turn the saber's setup into firmware, install it over USB with a backup first, and put an old backup back if you need to.
Step 4 is Build & Install. It turns the saber's wiring, presets and styles into firmware, then installs it. You never read C++. Hiltwright writes the settings file for you.
#The four steps
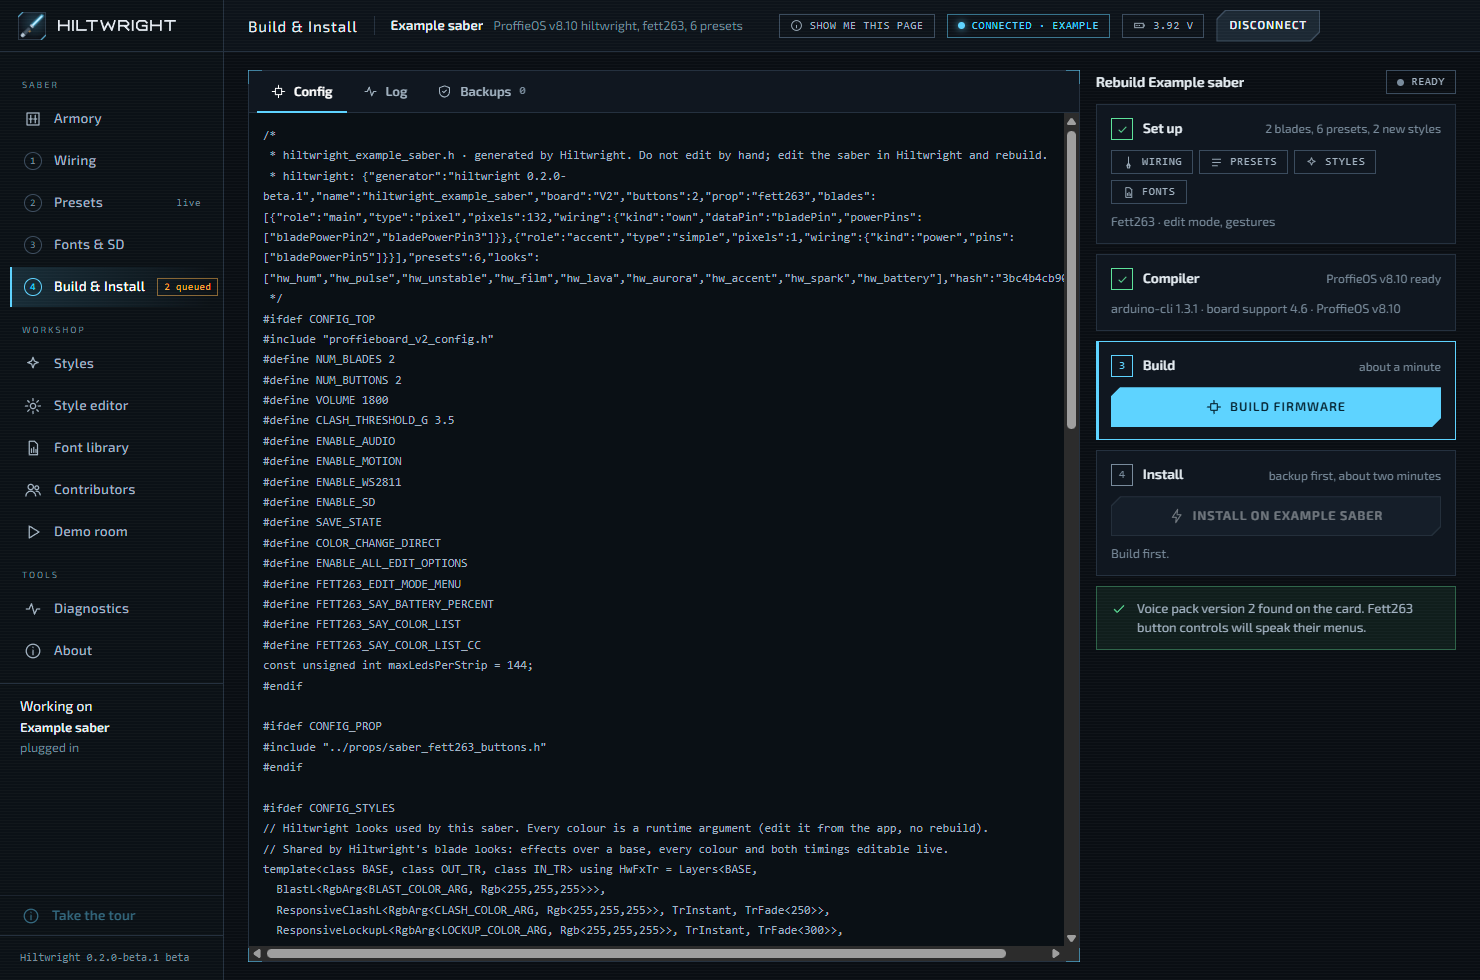
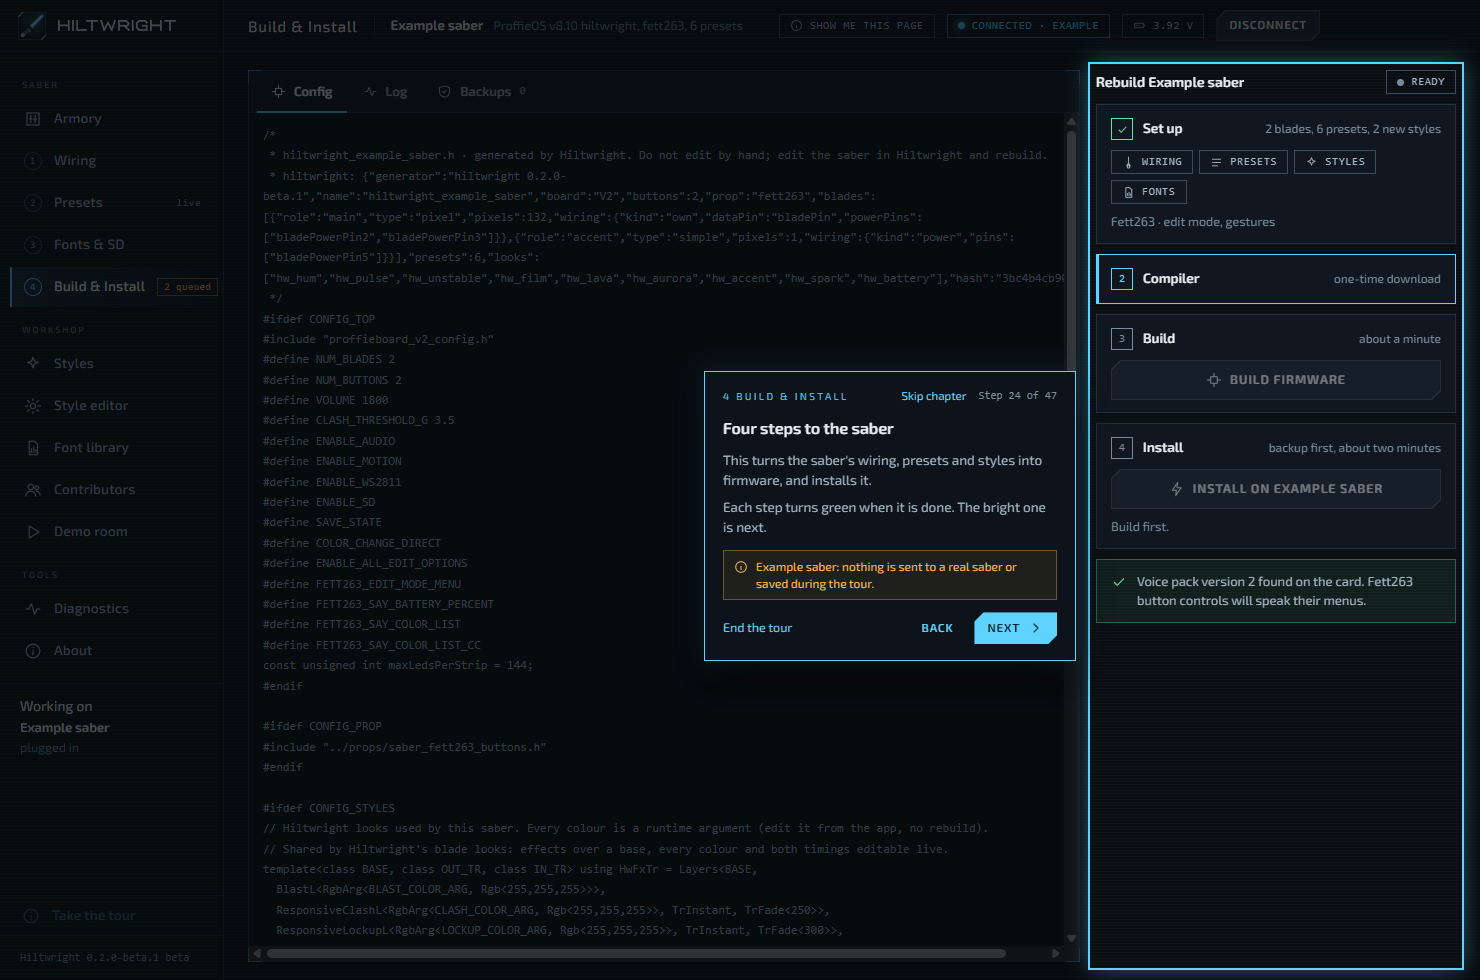
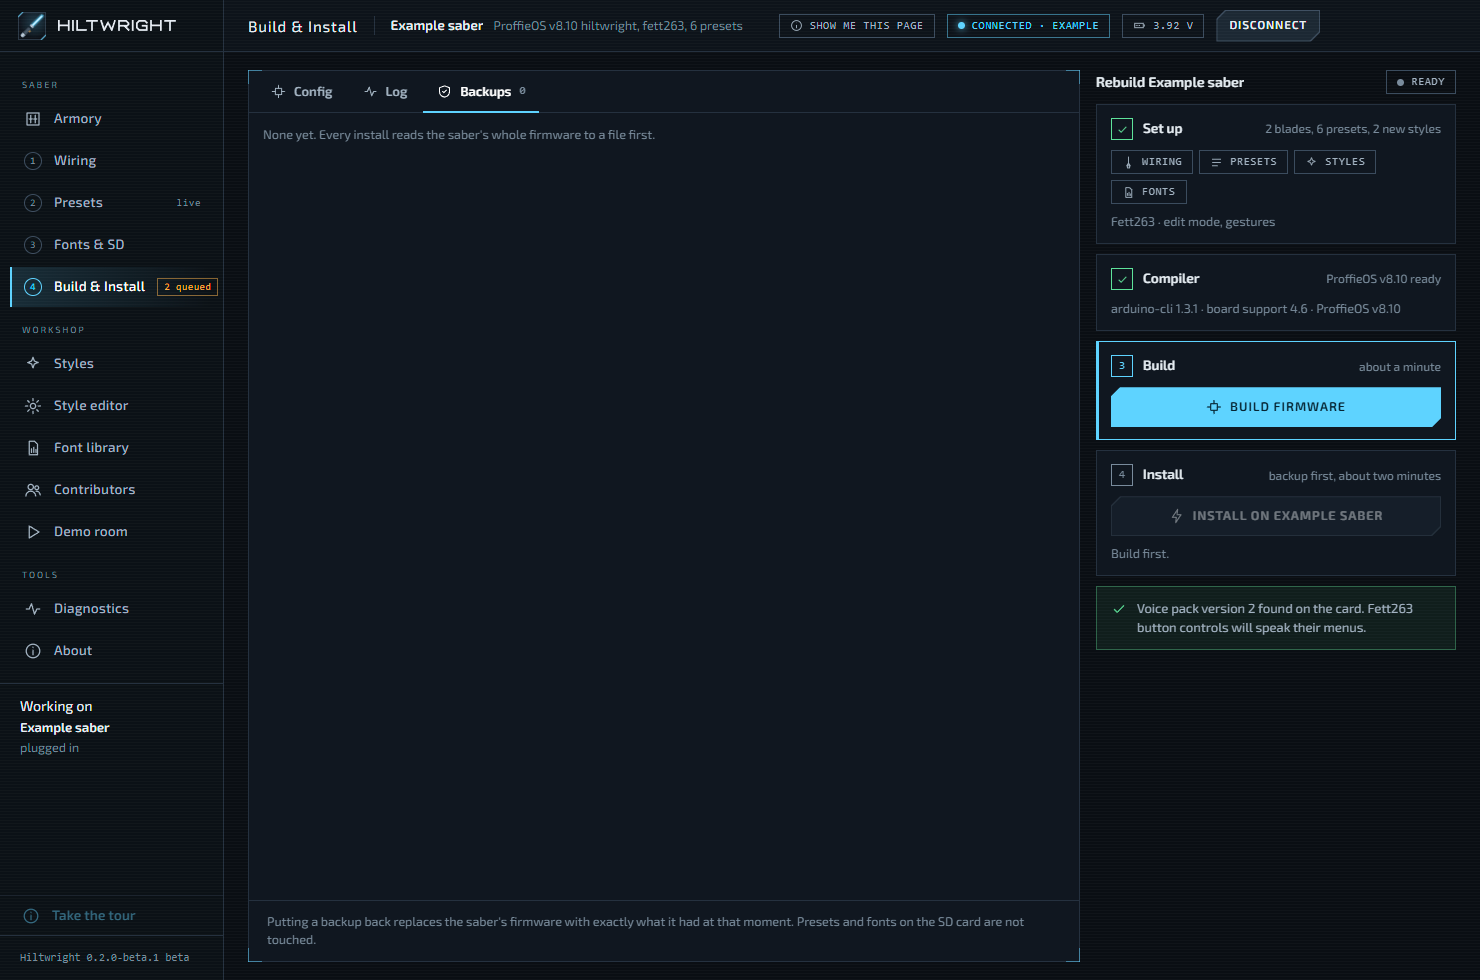
The panel on the right has four steps. Each turns green when it is done, and the bright one is next.
- Set up. Shows the number of blades and presets, and "(staged)" or "new styles" when they apply. Chips jump to Wiring, Presets, Styles and Fonts.
- Compiler. A one-time download.
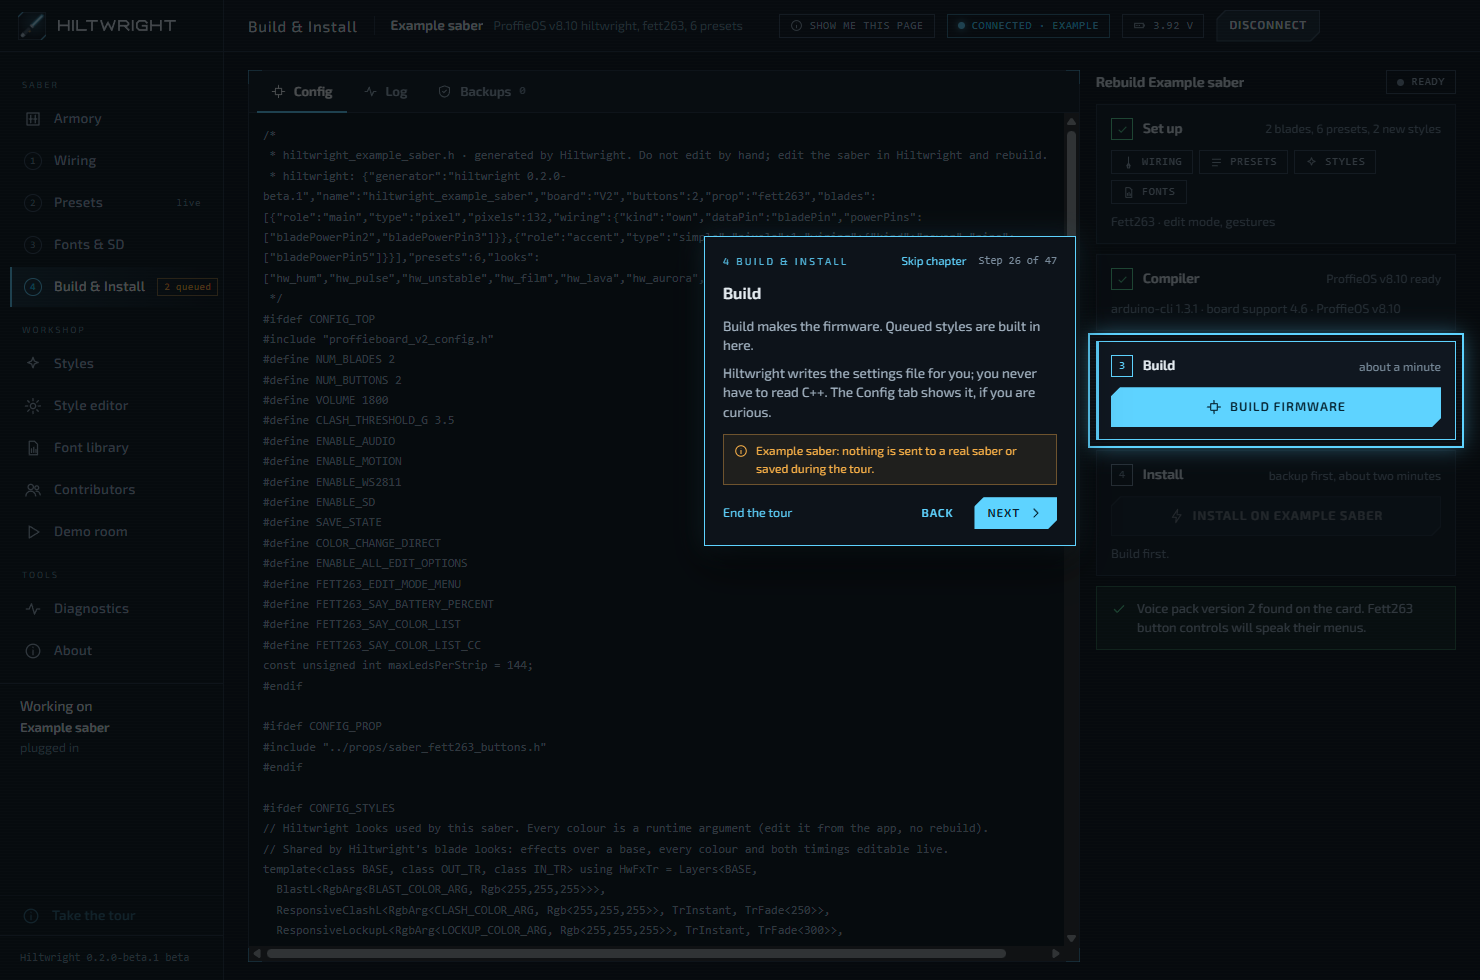
- Build. Makes the firmware.
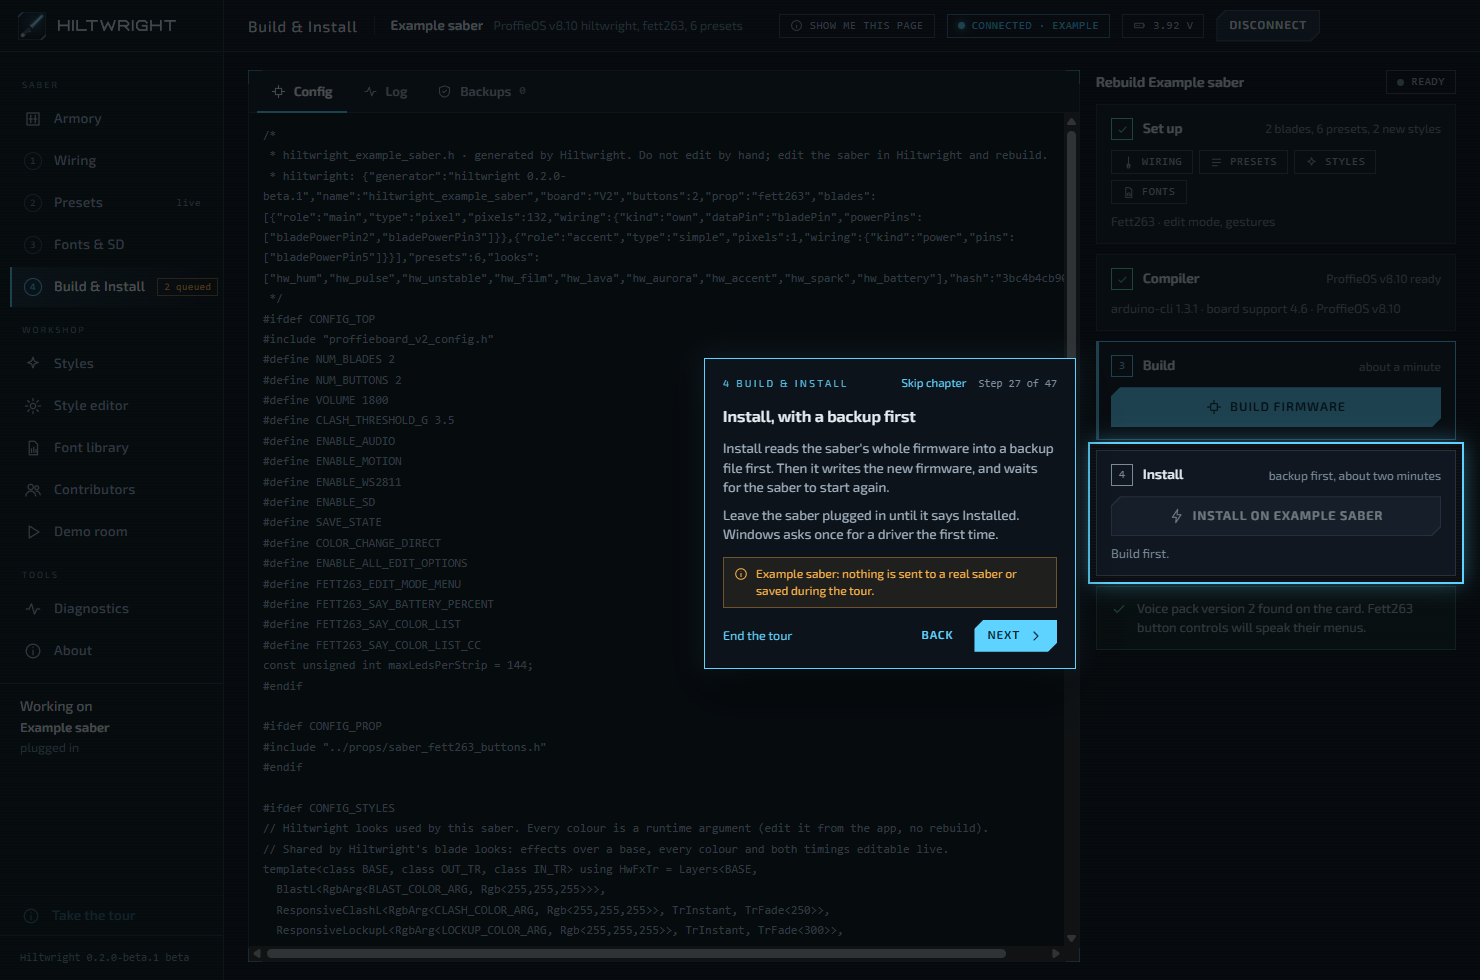
- Install. Backs up the saber, then writes the firmware. A status chip shows the stage, such as "Building firmware…", "Writing firmware…" or "Installed".
Everything up to the install works with the saber unplugged, once it has been seen. With no saber chosen, the page says "Connect a saber to begin", and the compiler can still be downloaded.
#The compiler
The first build needs the compiler, the program that turns the settings into firmware. Press Download and install. It is about 360 MB to download and about 1.9 GB on disk, into Hiltwright's own folder, and touches nothing else. The panel shows the free space. On a fast connection this takes about a minute. After that, nothing more is downloaded.
- If there is not enough space, or the folder path is too long, a red note says so and the button is off. Free some space and press Try again.
- If other Windows users on this computer could change the compiler folder, an amber note offers Repair, which limits it to administrators and your account. Windows may ask for approval.
When ready, the step says "ProffieOS (version) ready".
#Build
Build firmware needs the compiler, a confirmed wiring and no problems in the wiring. It takes about a minute. Queued styles are built in. The Log tab opens by itself and shows the output.
If the wiring is not confirmed, the page says "Confirm the wiring on the Wiring page before building." See Wiring.
When it works, the step shows how long it took, or "unchanged, reused" if nothing changed. A meter shows how full the board's flash is, for example "43% of flash" with "(used) of (size) KB". It turns amber above 70% and red above 90%.
If the build fails, the problem is listed in red. Press Save diagnostics to write a file you can send.
If you change the setup after a build, the step says "out of date" with "The setup changed after this build. Build again to install it." Build again. Changing it back makes the build current again.
#Before you install
Read the notes under the steps. They can include:
- Missing fonts. For example "2 presets name fonts that are not on the card (…). The saber will say "font directory not found" for them." Copy them on Fonts & SD, or choose another font on Presets. This warning shows only when the card's fonts are known.
- Voice pack. With the Fett263 prop, Hiltwright reports whether the voice pack is on the card, its version, and whether presets use the
commonfolder. Without it, the saber speaks a voice pack error on every preset change. Everything else works. - Staged presets. They replace the saber's presets once the new firmware is on and checked, and a snapshot is kept first. If the firmware already has them, press Use the staged presets to put them on with one restart and no install.
- Shared card. Give the saber's card back on Fonts & SD first. An install restarts the saber, and your computer must not be holding the card.
#Install, with a backup first
Press Install on (saber), then Yes, write the firmware. The second click is a check. The wiring must be confirmed. If it is not, the page offers the same "I checked every data pin and power pin against the installer's wiring" switch here.
Install then does these things:
- Reboots the saber into bootloader mode. This can take up to 45 seconds.
- Reads the saber's whole firmware into a backup file. If the board was blank, it says "there was nothing to back up" and goes on.
- Writes the new firmware.
- Waits for the saber to restart, reconnects and checks what it reports.
One bar shows all of it. It takes about two minutes. Leave the saber plugged in until it says Installed. A good end reads "Installed and checked: the saber reports…". If it reports something else, the note tells you to put the backup back.
Warning The saber could not restart into bootloader mode? Hold BOOT, tap RESET, release BOOT, then press Install again.
#The driver prompt
The first time, Windows has no driver for the bootloader. The step says "Windows needs a driver" and "Nothing has been changed on the saber." Press Install the driver. Hiltwright downloads the 3 MB installer published by the ProffieOS author, checks it and starts it. Windows asks for administrator approval once. Leave the saber plugged in and the install carries on by itself.
If that does not work, press Check again, or Cancel. By hand: open the ProffieOS setup page, run proffie-dfu-setup.exe, then press Check again. See the install guide.
#When a step fails
The status chip says "Stopped" and a red note says why. Save diagnostics writes one file on your computer and sends nothing. Attach it to your report. See Diagnostics.
If the saber does not show up after a reboot, use the BOOT and RESET steps above. A backup can always be put back from the Backups tab. If the note says the firmware was written but the saber has not reappeared, unplug and replug it, then press Connect.
#Backups and "Put back"
Every install first reads the saber's whole firmware to a file. The Backups tab lists them with the date and size. Each says "not a usable image" if it is not good.
Press Put back, then Yes, put it back. It writes that backup onto the saber exactly as it was, to undo an install. It also backs up what is on the board first. The button is off until the saber is connected.
Presets and fonts on the SD card are not touched.
#The Config tab
The Config tab shows the settings file Hiltwright writes. You never have to read it. It is there if you are curious. It appears once the wiring is described.
Back to the quick start.
Written for Hiltwright 0.2.0-beta.3. Something wrong or missing? Tell us.