
Docs / The saber path
Armory
Where you choose which saber you are working on, plan a new one, and see how far each has got.
The Armory is the first page. Hiltwright remembers every saber it has seen, whether or not it is plugged in. You choose here which one the steps (Wiring, Presets, Fonts & SD, Build & Install) are about.
#Your sabers
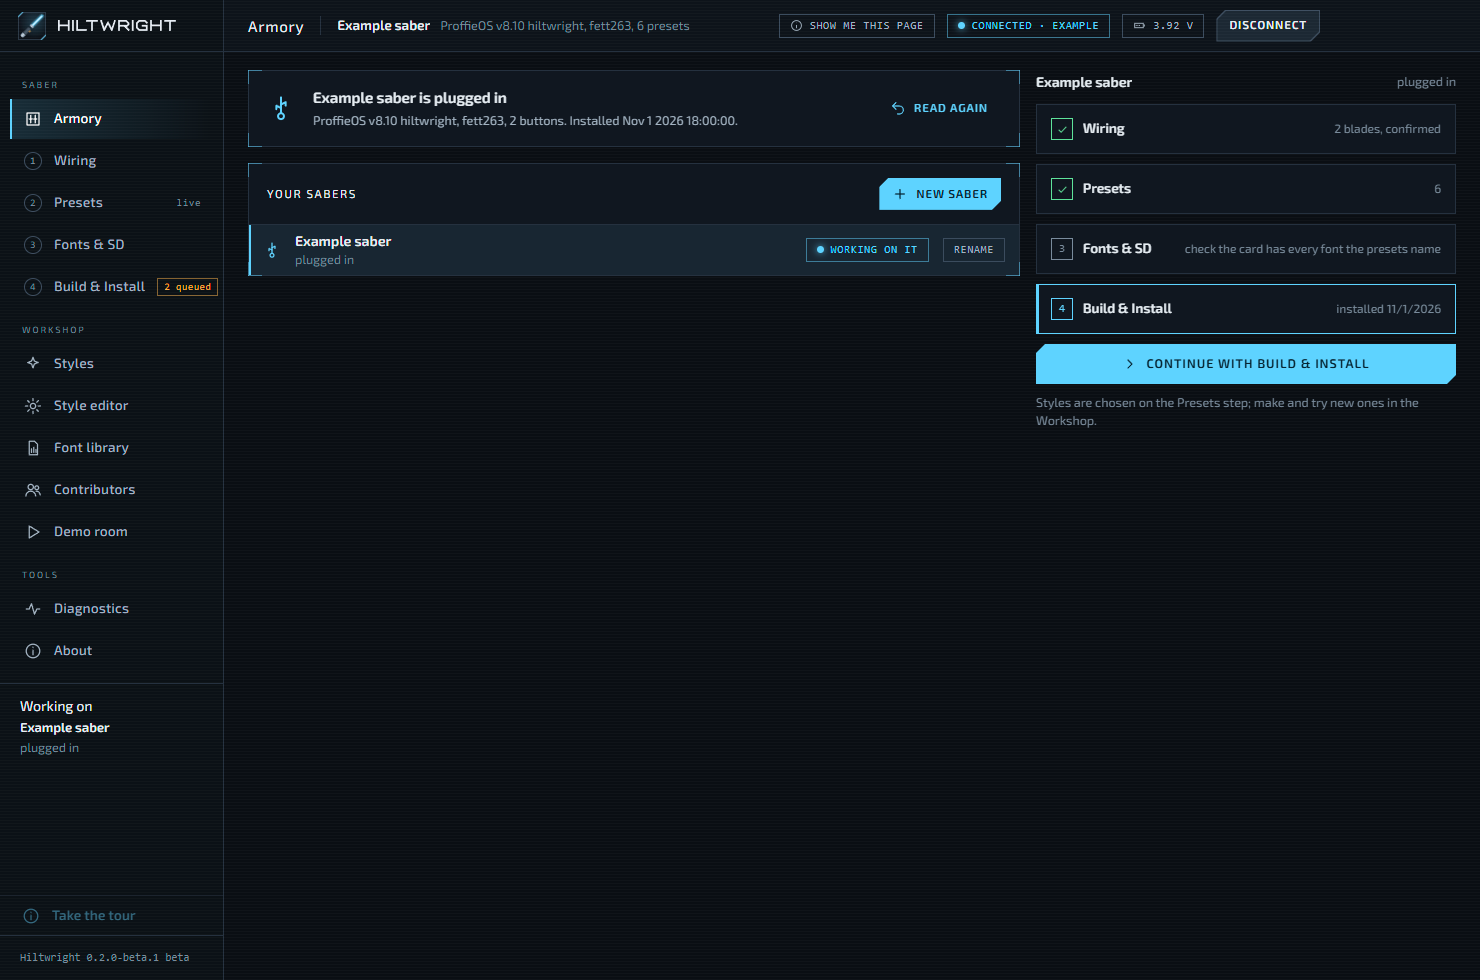
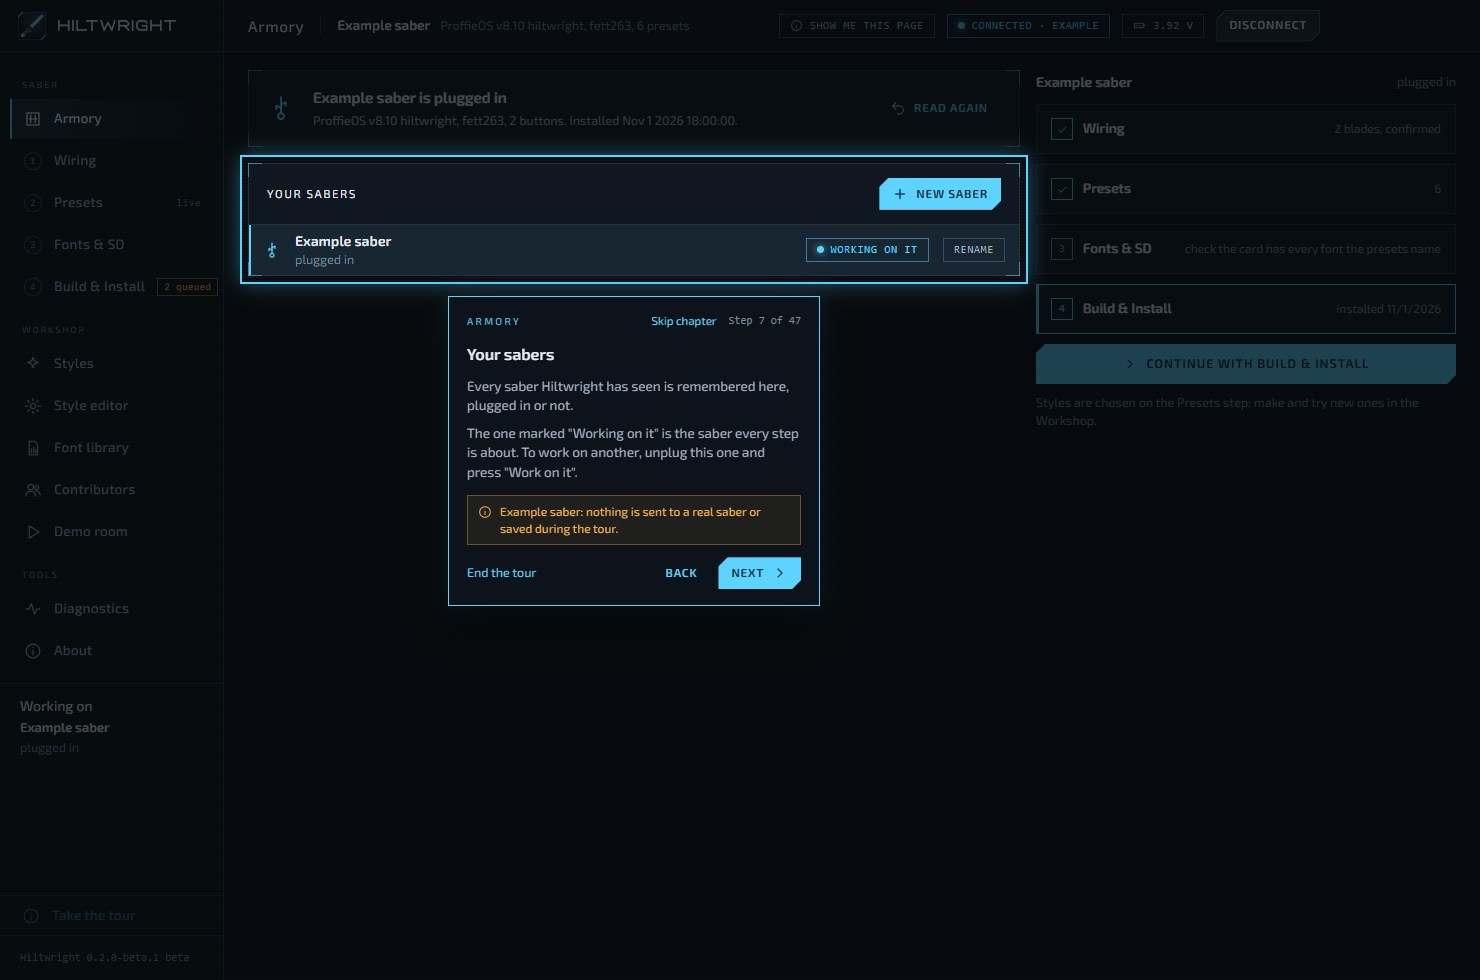
Every saber Hiltwright has seen is listed, plugged in or not. Each row shows its name and a line such as the saber's config name, its number of presets and when it was last seen.
The saber marked Working on it is the one every step is about. To work on another, unplug the current one and press Work on it beside the other. That button is greyed out while a saber is plugged in, and its tooltip says "Unplug the connected saber to work on another".
The sidebar repeats this under "Working on", with one of three notes: "plugged in", "planned, not seen yet" or "not plugged in".
To rename the saber that is plugged in, press Rename, type the new name and press Save.
#Plan a saber ahead
No saber in your hands yet? Press New saber, type a name in "Name the saber" and press Start. If you leave the name blank, Hiltwright calls it "Saber 1", "Saber 2" and so on. You can then set up its wiring, presets and styles, ready to install. Planned sabers show "set up ahead" and "not seen yet".
If nothing is plugged in, the new plan becomes the saber you are working on and you land on Wiring. If a saber is plugged in, that one stays the working saber, and a note says so: unplug it to work on the plan.
To drop a plan you no longer want, press the bin icon beside it. This is offered for planned sabers that are not the one you are working on.
#Match a plugged-in saber to a plan
When you plug in a saber that Hiltwright has not set up, and you have plans, the Armory asks "Is this a saber you set up ahead?" with a button for each plan, such as It is "My plan".
Press one and Hiltwright shows what will happen before it does anything. Adopting a plan moves its wiring, prop, presets and styles onto the saber. The next install replaces the styles compiled into the saber's current firmware, and the presets on its card become the plan's. If the saber already had wiring and presets in Hiltwright, they are replaced by the plan's.
Press Adopt to go ahead, or Not now to leave it.
Note Adopting changes nothing on the saber itself. Everything reaches the saber at the next Build & Install.
#The connection panel
At the top of the page, one panel says what is connected:
| Heading | Meaning |
|---|---|
| "Nothing plugged in" | No saber is connected. Plug one in over a data cable and press Connect. |
| "Opening the port…" | Hiltwright is opening the saber's USB connection. |
| "Reading the saber…" | It is reading the saber's presets and firmware details. |
| "(name) is plugged in" | Connected. The line below shows the ProffieOS version, the prop, the number of buttons and when it was installed. |
| "Something went wrong" | Read the message under it. Press Connect to try again. |
When a saber is connected, Read again reads it once more.
Two notes can appear under the heading:
- No battery detected. The saber is running on USB power alone. It may pause for a moment when it plays sound or reads its card. If it does, Hiltwright reconnects on its own.
- This firmware does not know a listed command. Hiltwright adapts to what the board supports.
If one of your saved lists could not be read at start, a note says so and tells you where the damaged copy was kept. Press Open folder to see it, or Dismiss.
#The top bar
The same connection state is always in the top bar, on every page.
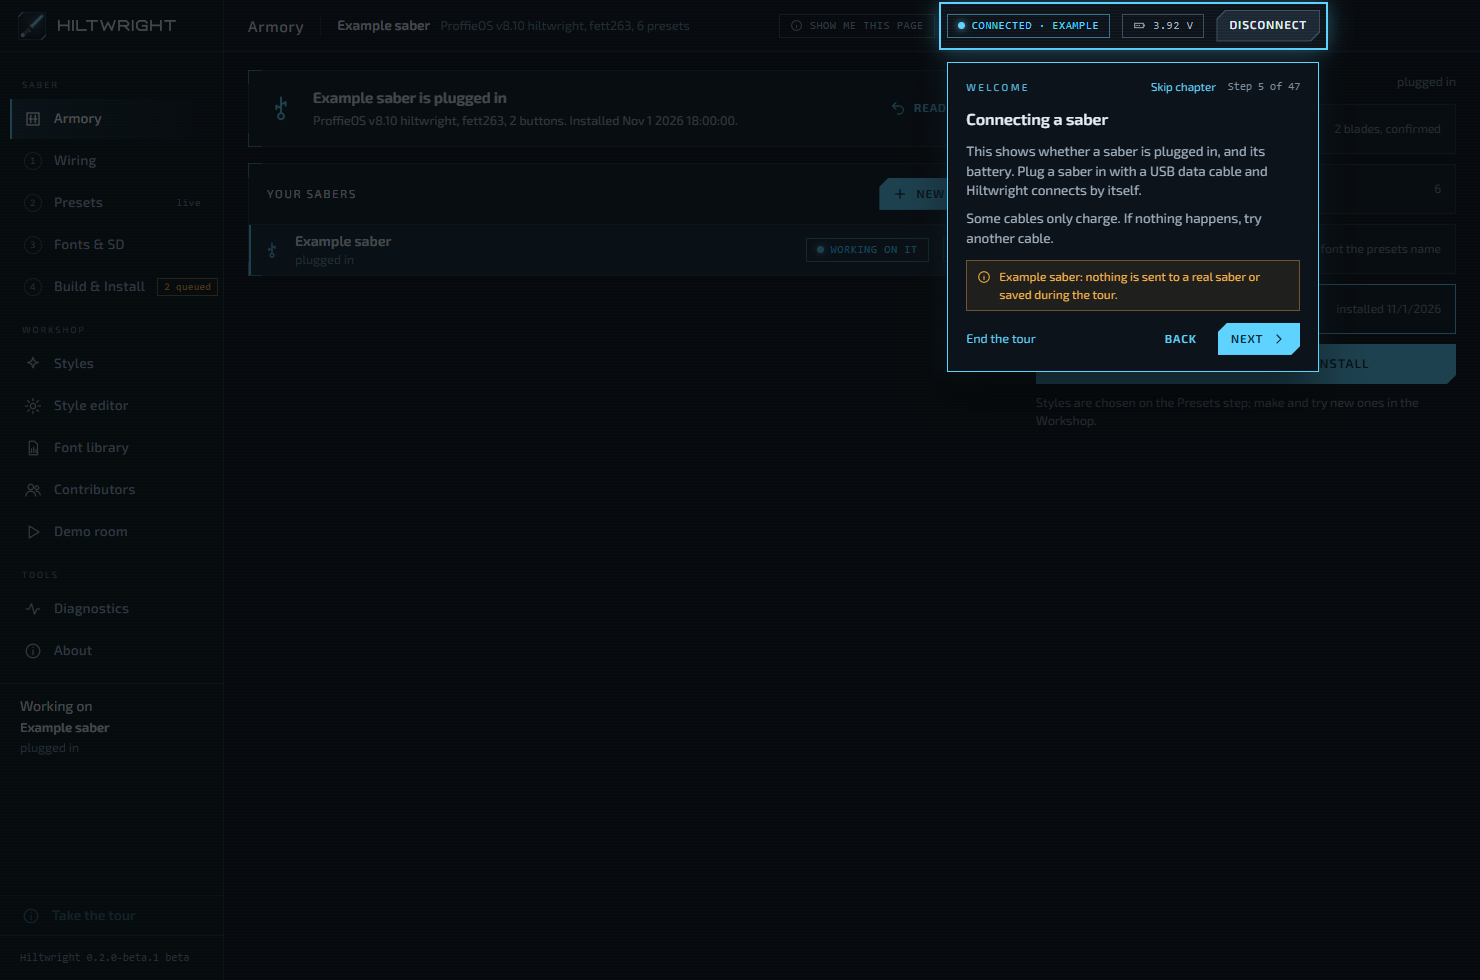
- A chip shows "Connected" with the port name, "Opening port…", "Reading the saber…", "Error", "No saber found" or "Not connected".
- A battery chip shows the reading. Under 2 V it means no battery is connected, and the saber is running on USB power.
- Connect and Disconnect are beside them.
Tip Plug a saber in with a USB data cable and Hiltwright connects by itself. If nothing happens, try another cable.
#Progress steps
The panel on the right lists the four steps and how far this saber has got. A tick means the step is done, and the bright one is next. Press a step to go to it, or press Continue with the next step's name to go there.
The ticks mean:
- Wiring: you have confirmed the wiring.
- Presets: the saber has presets in Hiltwright.
- Fonts & SD: listed, with no tick of its own.
- Build & Install: the saber's firmware has been built and installed from the current setup, with no styles left queued and no staged presets waiting.
With no saber chosen, the panel says "Start here". Styles are chosen on the Presets step. Make and try new ones in the Workshop (see Styles).
#Removing a saber
Every saber in Your sabers has a bin button at the end of its row. Press it to take that saber out of the Armory. A saber that is plugged in cannot be removed: its button is dimmed, and its tip says "Unplug it first. A plugged-in saber would be remembered again at once."
Hiltwright asks first. The question is "Remove" and the saber's name, with what goes and what stays:
- Removed: "Its entry in the Armory, with its wiring, presets and staged presets."
- Kept: "Its firmware backups stay as files in" its folder inside Hiltwright's data folder. The question shows the full path. "They are your way back."
- Kept: "Its preset history stays as files in" a second folder beside it.
- Kept: "Your fonts, styles and preset sets are not touched." The saber itself is not touched either.
The question ends: "If you plug the saber in again, Hiltwright remembers it again as a new saber. It will not have the old wiring or presets, and its backups and history will not be listed for it."
Press Cancel or Escape to leave everything as it was. Cancel is the button that has focus. Press Remove and the saber's name (for example "Remove Kylo") to go ahead. If it was the saber you were working on, Hiltwright moves to the most recently seen saber that is left, or to "Start here" when there is none.
A saber you set up ahead, which was never plugged in, is removed the same way. Its question has no backups or history to mention.
Next: Wiring.
Written for Hiltwright 0.2.0-beta.3. Something wrong or missing? Tell us.